Final Project - Charles Waite
My photographer, Charles Waite, used leading lines in his pictures to grasp the picture and create a story for the viewer. I used this same technique when thinking about and taking my photos. This helped bring my pictures together overall where you could see the rigid landscapes of a rural area.
Ansel Adams Landscaping


When I looked into Ansel Adams I figured it would be an easier task to capture photos of different kinds of landscapes around the area. I took much of techniques into consideration when taking my photos. These aspects included depth of field, golden ratio, rule of thirds, and leading lines. I realized that he uses rule of thirds and leading lines in almost all of his photos so I decided to use this the most when I took my photos. I tried to capture as many different environments as I could also in my pictures.
Macro Photography


In this project I researched a macro photographer named Heather Angel. In most of her photos she uses nature and many backgrounds that come along with this. I took this into consideration when capturing my photos to where they are all mostly having to do with nature and life. I was sadly not able to create any photos using insects like she had in many of hers.
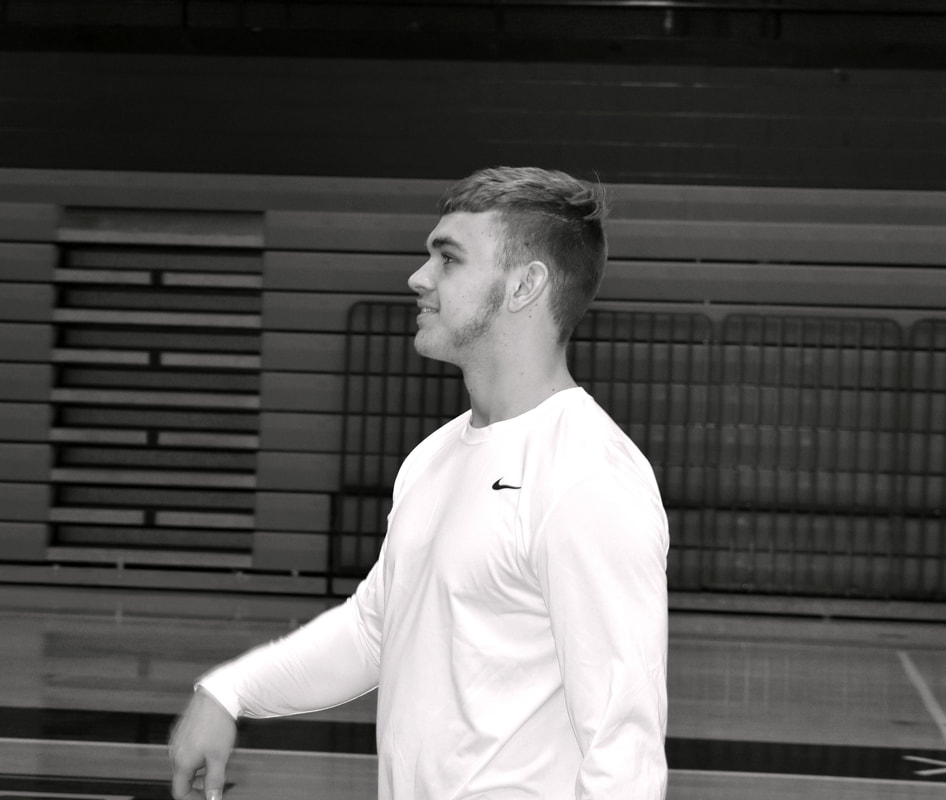
15 Famous Photos


With the aspect of Elliott Erwitt I attempted to create photos that were more in the moment then recreated. I noticed that many of his photos included a street perspective, or dogs. Both of which I was not really able to capture so I made the best of it and went into the gym and weight room to capture people lifting and playing basketball.
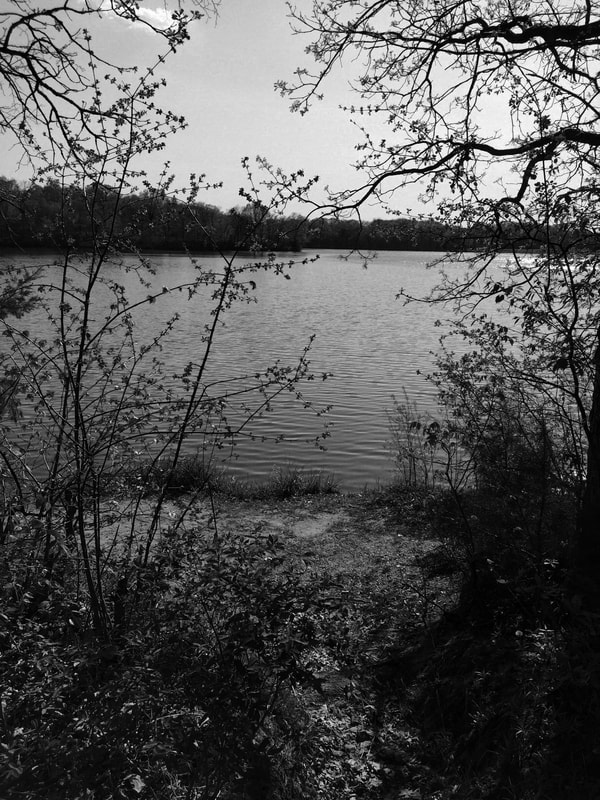
One Good Photo
For our first project in Photography III, we had to go and take a photo that could tell a story. Not just a regular any day photo, but one that is great. I chose this picture because I believe there are many good stories that could be made out of this one photo.
Surreal Photos


For our surreal project we were tasked with making three photos in which we combined at least three photos into one. In total it required at least nine photos, but you could've exceeded this limit to your liking. In these photos I used the idea of shrinking people and make them look smaller to objects that we see and use on a every day basis.
Ten Props with Five Frames Project
In this project we were tasked to take ten photos in which we used two props for each of the ten photos. I decided to use both a basketball and football that aided the subject and tied the whole picture together. The final five photos, which were the framing photos, were a cool twist on what to have in a picture. I used both Jay and Gavin as my subjects in all fifteen of my photos.
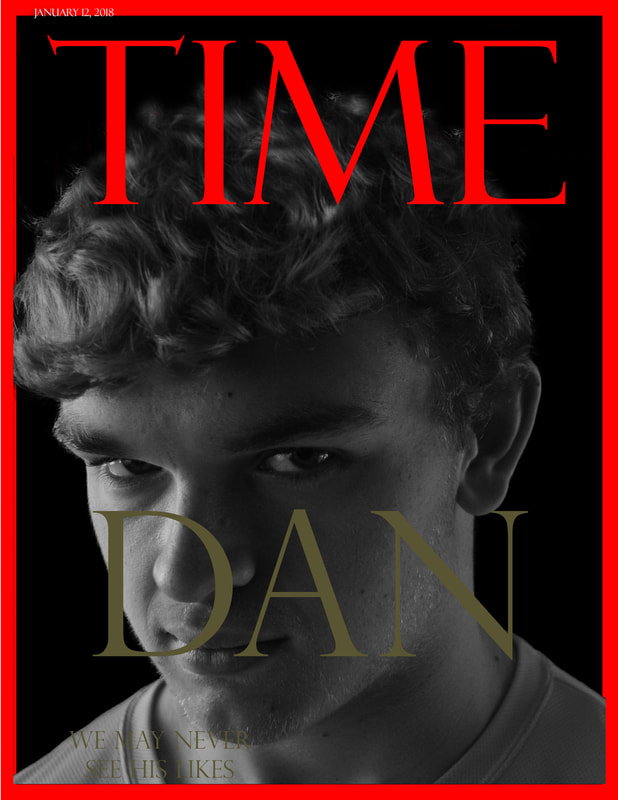
Magazine Photo
|

|
The magazine cover recreation was probably the most difficult to do. From having to find a good magazine to copy, to finalizing the border and text of the magazine cover. It increased my knowledge by showing me more tools that I was able to use and make the magazine recreation even better.
Recreation Photos
When attempting to recreate famous paintings, I had much trouble trying to find good photos to recreate. As I stumbled across some it got easier to discover different ideas that I thought would be a cool photo to recreate. During this part of the project I learned about how props and lighting can be the difference in a great photo.
10 Glamour Shots
Through the setup of the glamour shots, it was difficult to capture so many different looks. As you start taking photos though, you soon discover hundreds of ways that your subject can pose. From different lighting to slightly tilting the head, there was a surplus of options for the subject.
Lighting Scavenger Hunt
Through this project we were tasked to capture ten different types of photos using different lighting. This ranged from soft and hard lighting, sunlight, spotlighting, etc. When using this type lighting of lighting, it was difficult to capture a silhouette, or attempting to make your subject look dimmer in the background. Some were better than others such as the soft lighting and hard lighting where I was able to capture them both in the same day back to back. Another instance would be the spotlighting where I was able to capture three of them in a short amount of time.
Lighting Practice
For our first assignment we were assigned to get 5 quality photos, dealing with hard and soft shadows. We were also supposed to get pictures involving no shadows, a silhouette, and a final photo where half of the subject was in shadow and in light. I realized that there are many different lighting techniques that can be used to make a regular photo into a great photo.
5 Quality Photos


For our final project we were assigned to go around and capture five quality photos. These photos that we took were suppose to be better as we learned more compositional techniques. Throughout these photos I agree that these five photos are a lot better than the photos I took at the beginning of the year.
Color Contrast & Subject Contrast
Throughout these photos we were suppose to take 5 photos of two subjects that contrasted each other. Then we were suppose to take 5 photos that were examples of color contrast. In these photos you can see on how these contrasts really draw the viewer into the picture. This gives the viewer a bigger sense of imagination.
Leading Lines


When taking a good photo, whether you know it or not, there are leading lines in it. Leading lines enhance the photo by guiding your attention to the subject rather than there just being a picture. The leading line could be unnoticeable or very noticeable. whether you use it or not, it helps your photo pop out especially if you adjust your depth of field.
Angles


In the two subjects that I decided to take angles of, I positioned the camera in different angles to make it look different. When putting the camera down and angled up, it makes the subject look bigger. When you angle the camera down on the subject it makes it look smaller. In the images where there is black and white, I think that it made the image have more of a sad feeling to it.
Golden Ratio & Rule of Third


In the photos that I have taken you can tell on how the idea of Golden Ratio and Rule of Third shows you different ways in which you can look at a picture. For the Golden Ratio it shows the patterns that can be found in everyday life. It also shows the on how something can draw your attention from one subject to another. While using the Rule of Third it focuses on the subject without drawing too much attention to it, such as moving it the side or blurring out the background. This might not look noticeable, but with images like the moving fan, it really ties into the entire picture. It makes it pop out by focusing on the fan.
Clear Manual Photos
Throughout my photos I have taken, there are many changes in the settings that I had made.In many of the flower and other up-close photos I used a shallow depth of field, with an F-Stop of about 5.6. In other photos, such as the fan and football picture, I used a high shutter speed. This way I captured the subject that was moving in a way that made the subject stop its motion.
F-Stop, Shutter Speed, and ISO Photos
Foreground
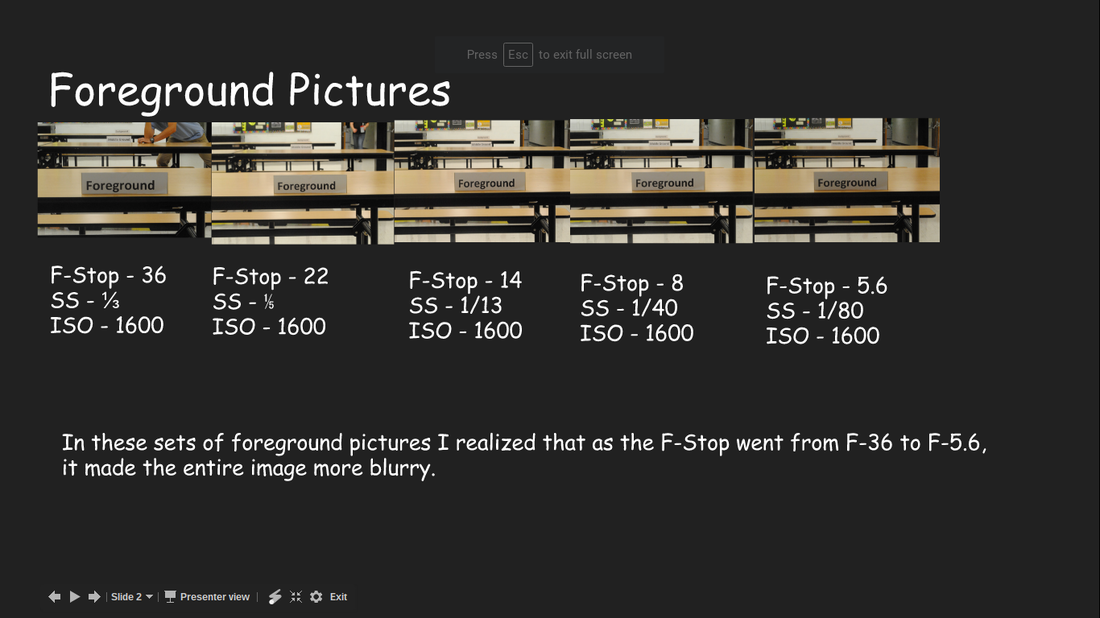
In my foreground pictures you can see the depth of field as it goes from concentrating on all of the images to just concentrating on the foreground photo. When having a large aperture, you have a low F-Stop of 5.6, and a small aperture would be a high F-Stop of 36. This created the background and middle ground blurry while being concentrated on the foreground.
Middle Ground


As the F-Stop goes from 36 to 8 and the shutter speed goes up, the middle ground becomes more clear.
Background


When it goes to F 14 and has a shutter speed of 1/20 it has the clearest picture.
Aperture


As the F-Stop goes from 5.6, with a large aperture hole, as it goes to 36 with an aperture hole that is small. The set shutter speed is 1/20 it goes from a good clear picture to a blank dark picture.
Stationery Subject


All the settings are the same except for the Shutter Speed that switches from 1/5, which makes a clear picture, to a fast 1/250 that makes a darker image. This happens because of the amount of time that light is allowed in at 1/250 is 1/250 of a second.
Moving Subject


As it goes from a low F-Stop of 4 and high shutter speed of 1/200, which makes a clear picture, because when filming a fast-moving object you need a high shutter speed. Then when you move to an F-Stop of 36 and shutter speed of 1/4 that is blurry and hard to see, becuase it has a low Shutter Speed which makes a moving image very blurry.
